

Work on Meadow using Visual Studio Code
Hello Meadow developers,
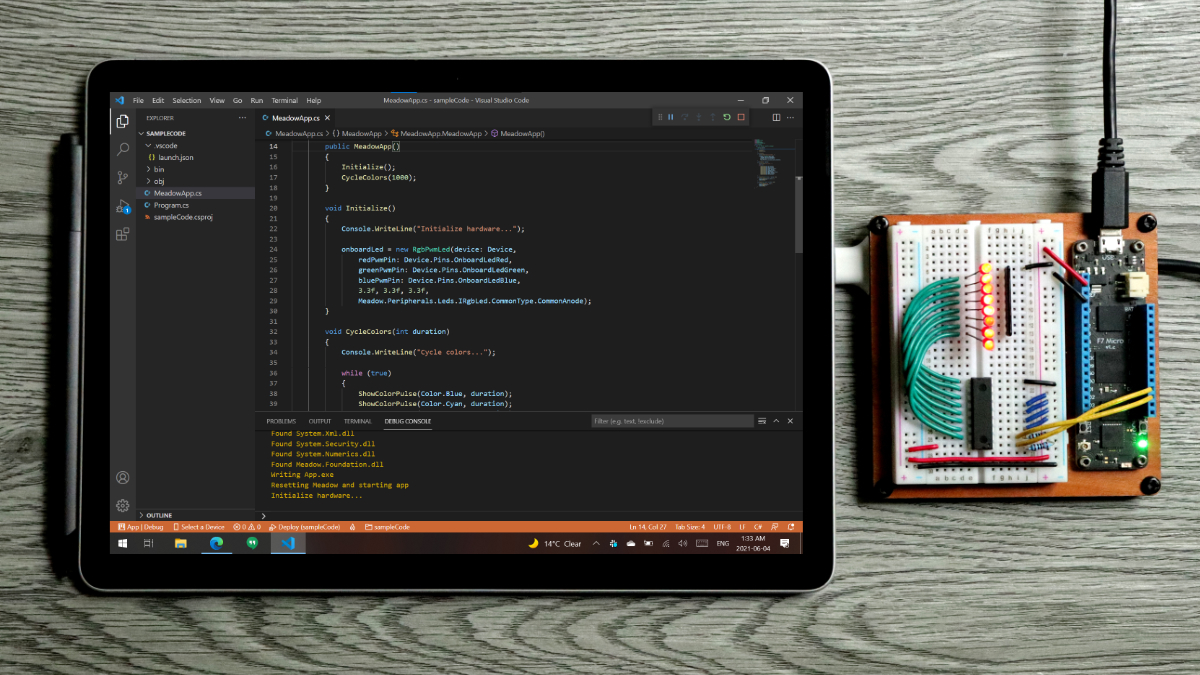
In this post, I want to show you how to use the Meadow Extension for Visual Studio Code.
Installation
- Download the extension .vsix file from the latest GitHub release.
- Click File -> Preferences -> Extensions.
- In the Extensions tab , click the
...menu and choose Install from VSIX…. - Pick the file you downloaded to install.
Create a new project
In the terminal:
- Run
dotnet new -i WildernessLabs.Meadow.Templateto load all the project and library templates. Notice you can create Meadow Applications (parameter Meadow) and Libraries (parameter MeadowDll) in C# (default), F# and VB.NET

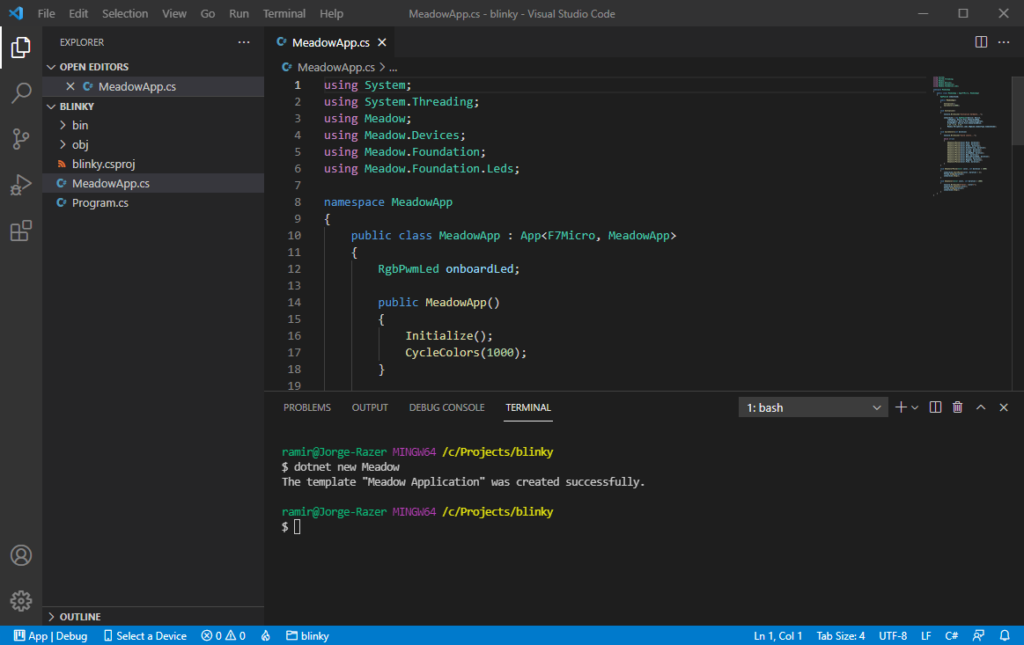
- Create and/or navigate into a directory with the name of your new app (ie:
blinky). - Open the project directory in VS Code
- Run
dotnet new Meadowto create a Meadow Application in C#. Once created, click the Restore button to restore the Meadow.Foundation NuGet package.
Build and Deploy
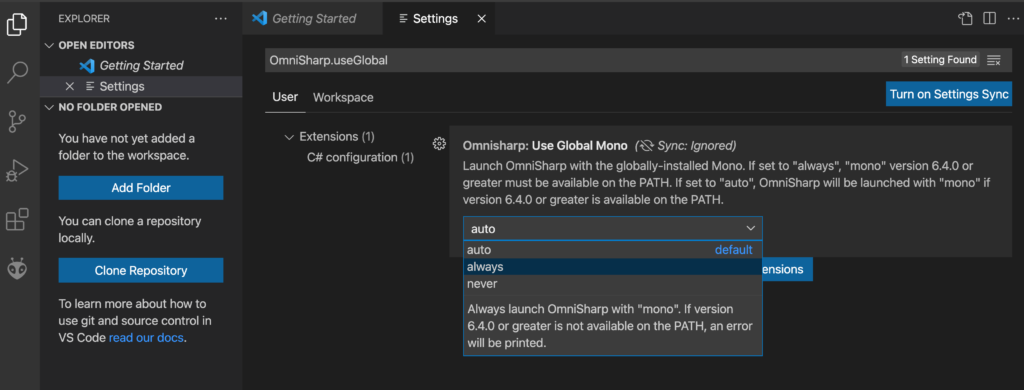
IMPORTANT – macOS Users: You will need to set omnisharp.useGlobalMono to always in VSCode’s settings (ie: "omnisharp.useGlobalMono": "always") since the MSBuild that ships embedded with VSCode on macOS does not know how to find the .NET 4.7.2 targeting packs (reference assemblies). This setting might need to be reverted if you want to build .NET Core projects in other solutions.
- Open your new app’s directory in VSCode.
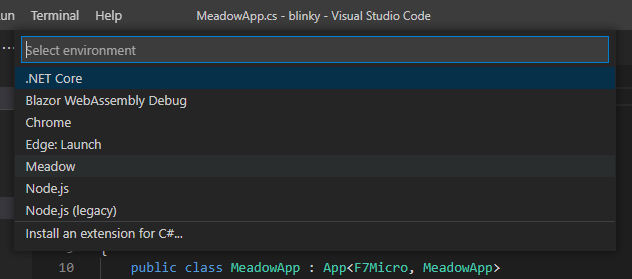
- Click Run -> Add Configuration and in the list of Environment choose Meadow
- Ensure your Meadow board is plugged in, and up to date.
- Choose Run -> Start Debugging (Your code will automatically be built first).
- If prompted, pick the serial port of your Meadow board.

- Watch the output and Meadow’s onboard RGB LED turn on and change colors!
References