Hack Kit Series: Closer look at 74HC595 IO Expander

Hello once again,
In this post we’re going to talk about one integrated circuit included in your Hack Kit that you can use to expand your number of pins on your Meadow board: the 74HC595 (aka shift register).
To use this peripheral, you’ll need to search and install the Meadow.Foundation.ICs.IOExpanders.x74595 NuGet package in your Meadow Application projects.
Once added, all that’s left is learn how to wire them up on your board and instantiate a x74595 object and start using it with no fuzz digging through some datasheets.
Overview
Shift registers are used to increase the number of outputs on a micro controller by using I2C or SPI interfaces. In the case of the 74xx595 series of shift registers, the SPI interface is used to output a series of bits that are then latched to the output pins of the chip.
Testing Circuit sample
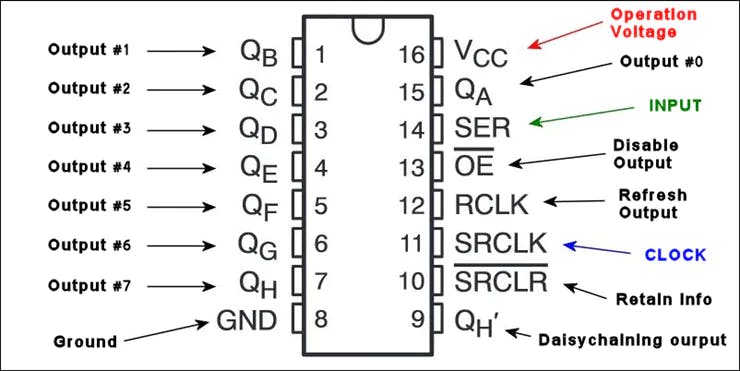
To connect the 74HC595 chip, consider the Pin Datasheet below. The necessary pins for the shift register to work is wire up the GND and VCC for power (it works for both 3.3V and 5V). SER is the serial input pin, where set the bits of data along with the shift register clock (SRCLK). When setting all 8 bits, you enable the Latch pin (SRCLK) to copy all the 8 bit values to the latch register. In this post, wire up the Output Enable (OE) pin to see the output changes for when the bit values are latched to the shift register. This pin is an active low, so it needs to be connected to ground. For more information, you can find the data sheet here.

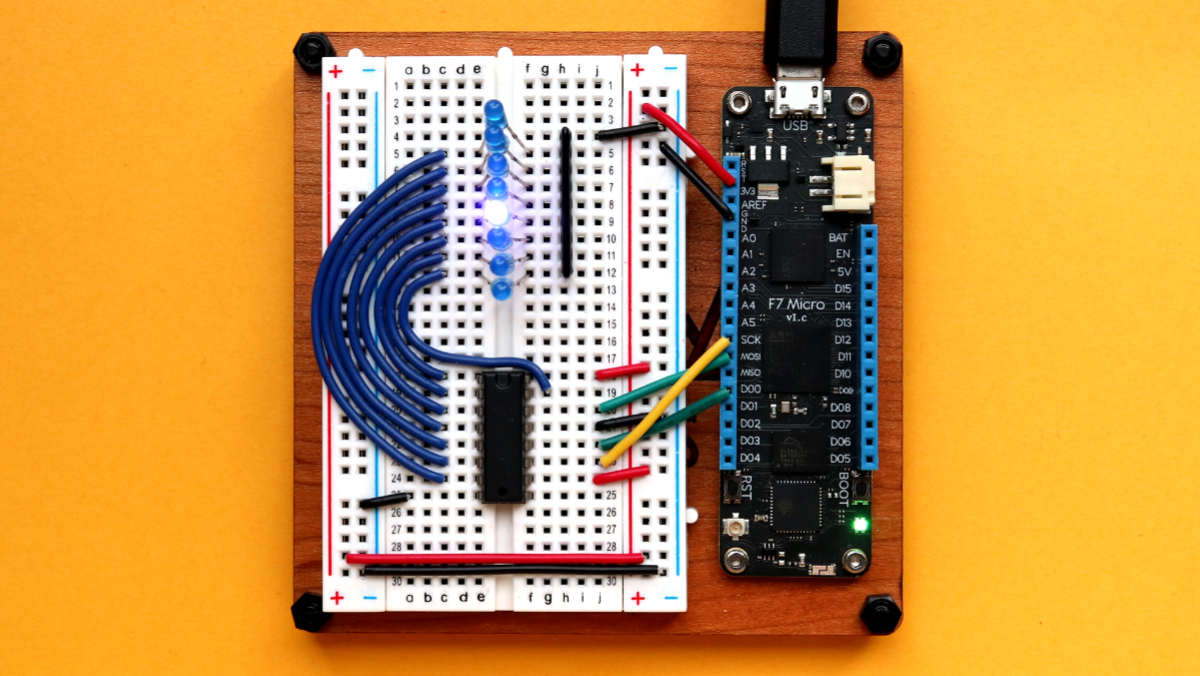
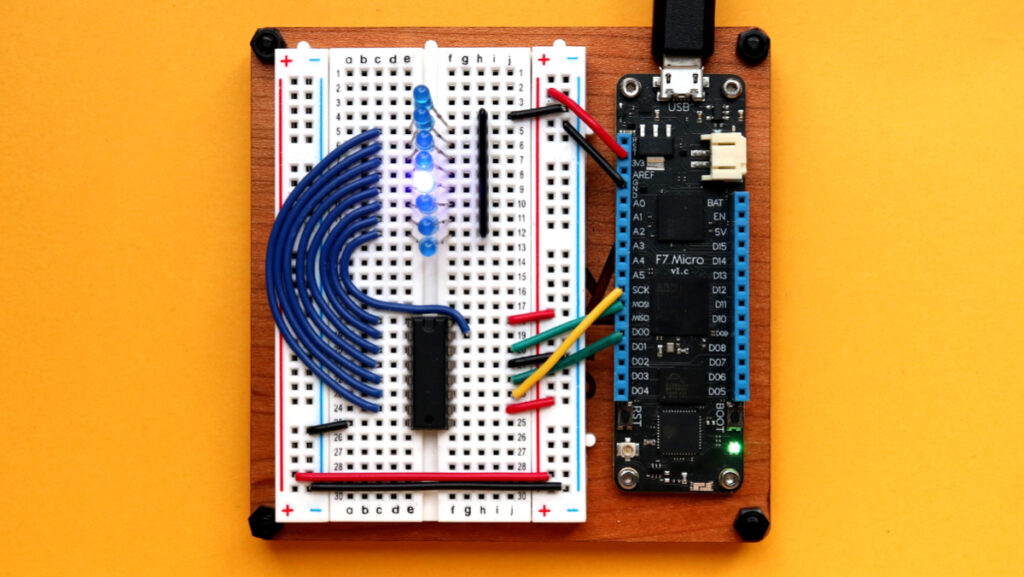
Now that you’ve gone through the pinout on the 74HC595, build the circuit on a breadboard along with your Meadow. Follow the diagram below, and make sure you’re connecting everything exactly as illustrated. To illustrate that output ports are working, wire an LED for each port with the GND leg connected to a 220ohm resistor like below:

Code Sample
Check the following code snippet to initialize an x74595 object:
var _x74595 = new x74595(
    spiBus: Device.CreateSpiBus(),
    pinChipSelect: Device.Pins.D00,
    pins: 8);
For this peripheral, there’s only one way to instantiate a new object: we need to pass the Device along with a SpiBus object, which we can create it with Meadow calling the Device.CreateSpiBus() method. We also send the pin connected to the refresh output pin and finally the number of pins which in this case is eight.
Now to actually use the shift register, there’s two common ways:
Option 1: Work with the registers
_x74595.Clear();
for (int i = 0; i < _x74595.Pins.AllPins.Count; i++)
{
    _x74595.WriteToPin(shiftRegister.Pins.AllPins[i], true);
    Thread.Sleep(1000);
    _x74595.WriteToPin(shiftRegister.Pins.AllPins[i], false);
}
We can initialize and clear the x74595 from any values by doing shiftRegister.Clear(); and after we can change the value of the pins by calling the WriteToPin method. In the code snippet above you’ll see when setting the pin true will turn on the LED for one second and turn it off, one by one.
Option 2: Configure Ports like an IIODevice
With the shift register object now initialized, you can now create output ports just like you would do directly on your Meadow board, by calling CreateDigitalOutputPort method, passing along which pin on the shift register you want to configure.
var leds = new List<Led>();
leds.Add(new Led(_x74595.CreateDigitalOutputPort(_x74595.Pins.GP0)));
leds.Add(new Led(_x74595.CreateDigitalOutputPort(_x74595.Pins.GP1)));
leds.Add(new Led(_x74595.CreateDigitalOutputPort(_x74595.Pins.GP2)));
leds.Add(new Led(_x74595.CreateDigitalOutputPort(_x74595.Pins.GP3)));
leds.Add(new Led(_x74595.CreateDigitalOutputPort(_x74595.Pins.GP4)));
leds.Add(new Led(_x74595.CreateDigitalOutputPort(_x74595.Pins.GP5)));
leds.Add(new Led(_x74595.CreateDigitalOutputPort(_x74595.Pins.GP6)));
leds.Add(new Led(_x74595.CreateDigitalOutputPort(_x74595.Pins.GP7)));

while (true)
{
    foreach (var led in leds)
    {
        led.IsOn = true;
        Thread.Sleep(1000);
        led.IsOn = false;
    }
}
Notice that we’re initializing a List of LEDs, one for each port, and in the infinite loop, we can control the LED itself instead of the shift register’s ports. We can do this because of the powerful Unified GPIO Architecture designed so we can seamlessly configure ports in a IO Expander as they would be an extension of Meadow’s ports.

That’s a wrap
This is all I wanted to show you in this quick post. If you want to read more in depth about the 74HC595 API, feel free to check to our official API docs. Also, here’s some cool Hackster projects that I’ve use shift registers:
Happy hacking and see you on the next post!
Jorge


