

Connected Coffee Maker Part 3 – Introducing Maple Server

In part 2 of this series we built the core of the connected coffee maker by creating what was essentially a smart power outlet that we could control with a Netduino. After assembling the hardware, we deployed an application that controlled our relay to to turn on household power to the coffee maker, effectively adding simple control.
In this blog entry, we’re going to take this one step further and add a web API to the Netduino application so that we can control it remotely.
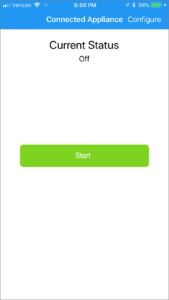
Once we have the web API in place, we will have an endpoint that can be taken advantage of from a variety of use cases. In fact, in the next part, we’ll build a Xamarin.Forms mobile application that uses that API to control the connected coffee pot from a mobile device:
The sample code for the entire connected coffee maker project can be found in the Netduino_Samples/Connected_CoffeeMaker repo. The code that runs on the Netduino is in the ApplianceHost app folder. That’s the code we’ll be examining here.
Introducing Maple Web Server
In order to expose the web API to allow remote control of our coffee maker, we need a web server to host it. So we’re introducing a purpose-built web server for Netduino; Maple Server.

Maple is an open source, ultra-lightweight, JSON enabled, RESTful web server built specifically for Netduino devices with network capability. It’s also published as a nuget package, so it’s incredibly easy to add to your projects. We purpose-built it for Netduino; it’s incredibly simple, fast, and super easy to use. It should run without issue on the N3 Ethernet, N3 Wifi, and N2+ models.
Request Handlers
Maple web API endpoints are defined by creating custom classes that inherit from RequestHandlerBase. Maple uses reflection to create urls based on the method names in those custom classes. It supports both the get and post verbs and method names must be prefixed with either one of those strings in order to be automatically made into an endpoint.
For example, the following RequestHandler class exposes three URL endpoints, /Status, /TurnOn, and /TurnOff. As the method names indicate, the the Status endpoint accepts get requests, and the power control methods (TurnOn and TurnOff) are posts:
 using System;
 using Microsoft.SPOT;
 using Maple;
 using System.Net;
 using System.Collections;

 namespace ApplianceHost
 {
     public class RequestHandler : RequestHandlerBase
     {
         private static bool _isPowerOn;

         public RequestHandler(HttpListenerContext context) : base(context)
         {
         }

         public void getStatus()
         {
             StatusResponse();
         }

         public void postTurnOn()
         {
             TogglePower(true);
             StatusResponse();
         }

         public void postTurnOff()
         {
             TogglePower(false);
             StatusResponse();
         }

         private void TogglePower(bool val)
         {
             _isPowerOn = val;
             Ports.ONBOARD_LED.Write(val);
             Ports.GPIO_PIN_D1.Write(val);
         }

         private void StatusResponse()
         {
             this.Context.Response.ContentType = "application/json";
             this.Context.Response.StatusCode = 200;
             Hashtable result = new Hashtable {
                { "isPowerOn", _isPowerOn.ToString().ToLower() }
            };
             this.Send(result);
         }
     }
 }
When those endpoints are invoked, the appropriate method is called. In the case of our control server; the getStatus method returns a JSON formatted message containing the current on/off state of the relay, the postTurnOn method turns the relay on, and the postTurnOff method turns the relay off. postTurnOn and postTurnOff also keep the onboard LED in synch with the power to the relay as an indicator.
The Ports have been defined in the ports.cs class, which provide shortcuts to the OutputPort objects which represent the onboard LED, and digital pin 1, which controls the relay:
 using System;
 using Microsoft.SPOT;
 using Microsoft.SPOT.Hardware;
 using SecretLabs.NETMF.Hardware.Netduino;

 namespace ApplianceHost
 {
     static class Ports
     {
         static Ports()
         {
             ONBOARD_LED = new OutputPort(Pins.ONBOARD_LED, false);
             GPIO_PIN_D1 = new OutputPort(Pins.GPIO_PIN_D1, false);
         }

         public static OutputPort ONBOARD_LED;
         public static OutputPort GPIO_PIN_D1;
     }
 }
Using Maple, that’s all the code that’s needed to expose a modern, RESTful web API from a Netduino!
Network Initialization
Unlike traditional desktop or mobile applications in which the network interface has long been initialized by the time an app is run, you must first initialize the network interface and wait for it to get it’s IP address, etc., before attempting to do any network access. As such, before Maple Server is started, these tasks but be executed and waited on.
The bulk of the code in the main program.cs does just that; it initializes the network, waits for an IP address, and also makes a web request for validation purposes. Most of the code is dedicated to debug and informational output to illustrate the process and provide information for development-time exploration and instruction. It’s well-documented on the Netduino Networking guide, and we are working on shipping a nuget package that will handle all this stuff black-box, so in the future it’ll be even easier to add to your projects. As such, I’m not going to cover it in detail here, except to say that if you copy in the network initialization code into your own app, you’ll need to call the InitializeNetwork method and check it’s return (true on success) before you begin any processing that includes network access:
if (InitializeNetwork())
 {
    // start the maple server
    // and start your application processing here
}
Starting Maple Server
Once the network has been initialized, Maple Server needs to be instantiated and started:
 MapleServer server = new MapleServer();
 server.Start();
For most scenarios, this should go directly after the network initialization call, though, depending on your application needs, you might want to start it when needed.
Network Configuration
The final step necessary to setup the ApplicationHost sample is to configure the network. Some network pieces, such as the WiFi network name and password (if applicable), need to be configured at deploy time. If you’re developing on a Windows machine, you can use MFDeploy, which is installed as part of the .NET MicroFramework SDK. For Mac developers, we’ve created MacDeploy, which provides the same functionality:
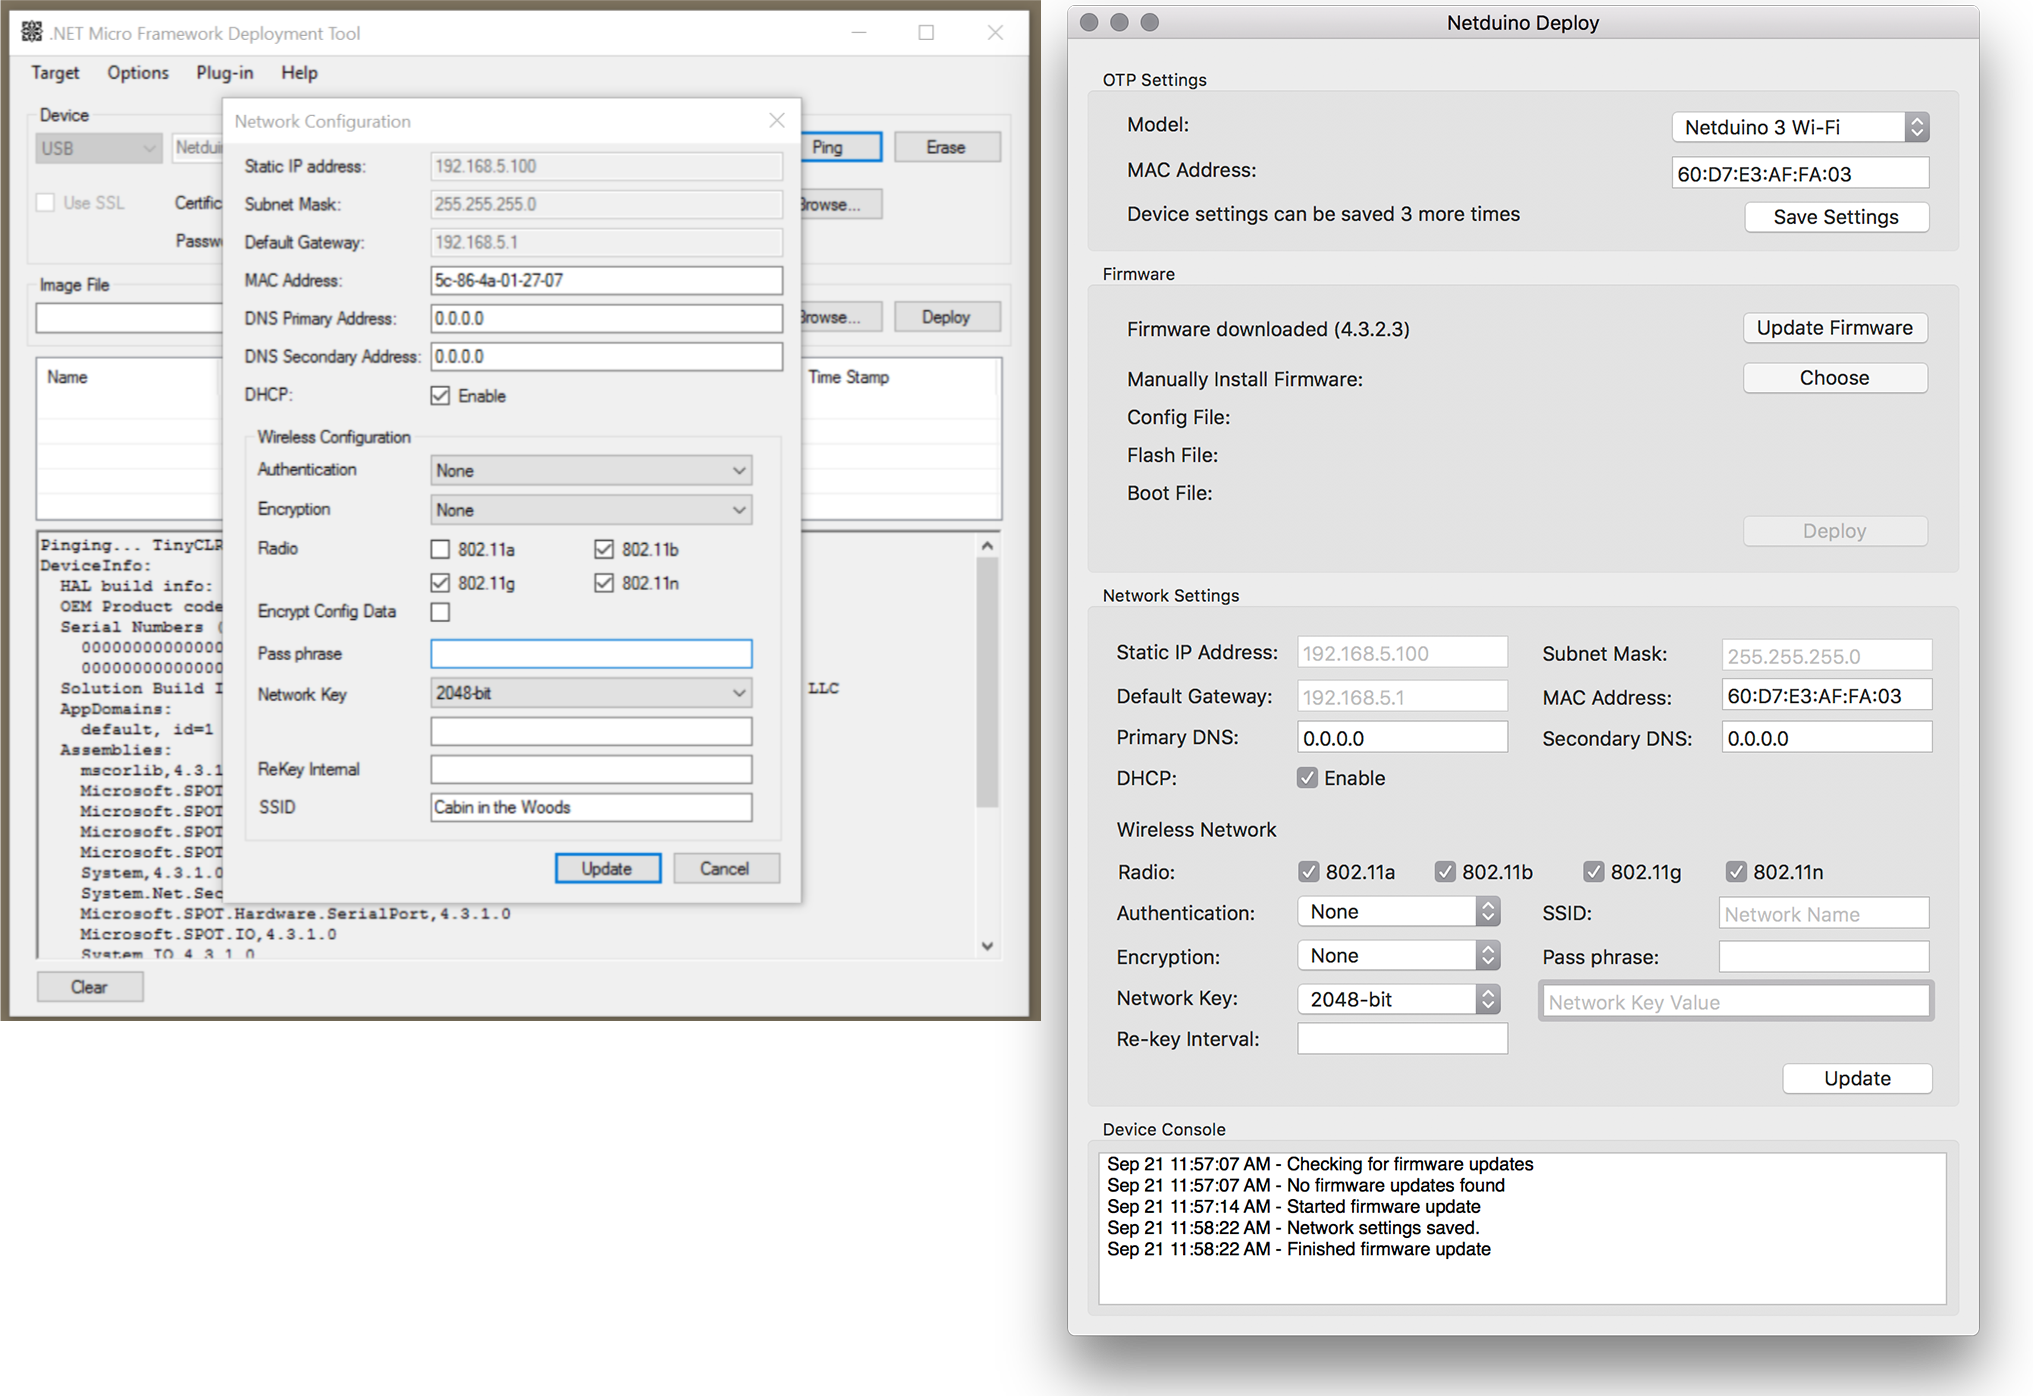
If you’re using the Netduino 3 WiFi model, the authentication and encryption options can be a little confusing, however, if you’re connecting to a modern WiFi network that requires a password, you’ll likely need to set the Authentication setting to Shared, and the Encryption setting to WPA. Additionally, SSID refers to the name of the WiFi network.
Testing the Application/Control Server API
Once the network is configured and the application is deployed, it’s ready to test. If all goes well, the Application Output window in Visual Studio, should have something the following:
Getting all the network interfaces.
Found 802.11 WiFi Interface
MAC Address: 60-D7-E3-A0-02-CB
DHCP enabled: True
Dynamic DNS enabled: False
IP Address: 0.0.0.0
Subnet Mask: 0.0.0.0
Gateway: 0.0.0.0
SSID:Cabin in the Woods
Found 802.11 WiFi Interface
No IP Address
DHCP is enabled, attempting to get an IP Address
Sleep while obtaining an IP
Sleep while obtaining an IP
Sleep while obtaining an IP
Got IP Address: 172.16.42.8
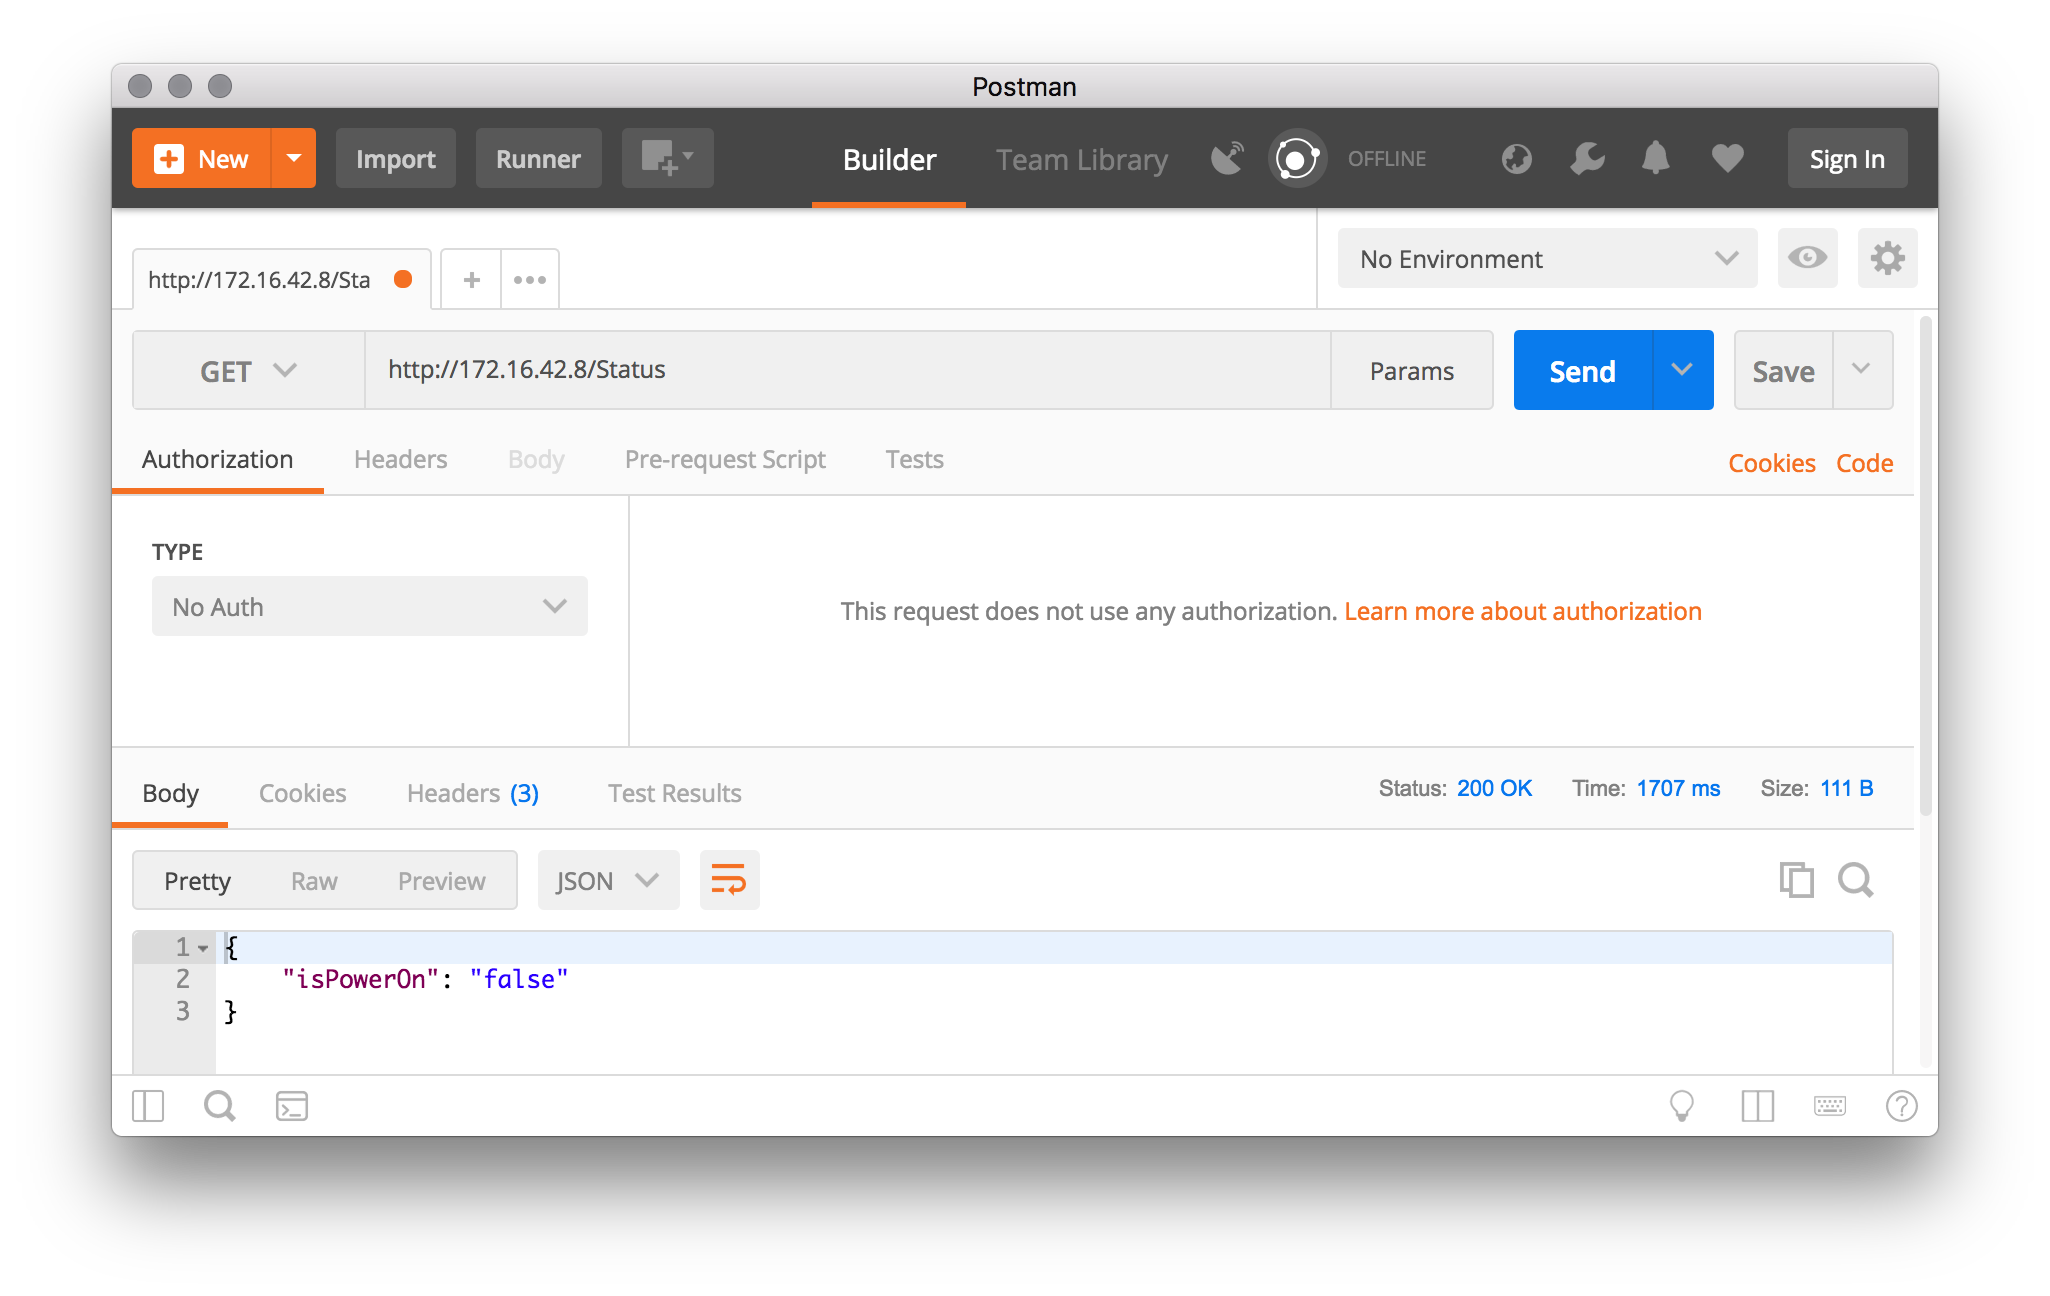
You’ll need the IP address to test the API endpoint. The Status endpoint is easy to test via a browser; make sure you’re on the same network as the Netduino and open up a browser window and navigate to http://[IP Address]/Status. It should display a JSON response. However, I recommend getting Postman to test the endpoints. It’s free and designed specifically to test RESTful interfaces. It allows you to do POST requests in addition to GET, as well as a myriad of other useful things, including automatically parsing JSON responses:
Next Up – Mobile App
Stay tuned for more. In the next post in this series we’re going to build a Xamarin.Forms app to control our connected coffee maker from bed.